ProxMox working with guest machines, templates and containers
Creating and managing VMs in proxmox is simple and intuitive.
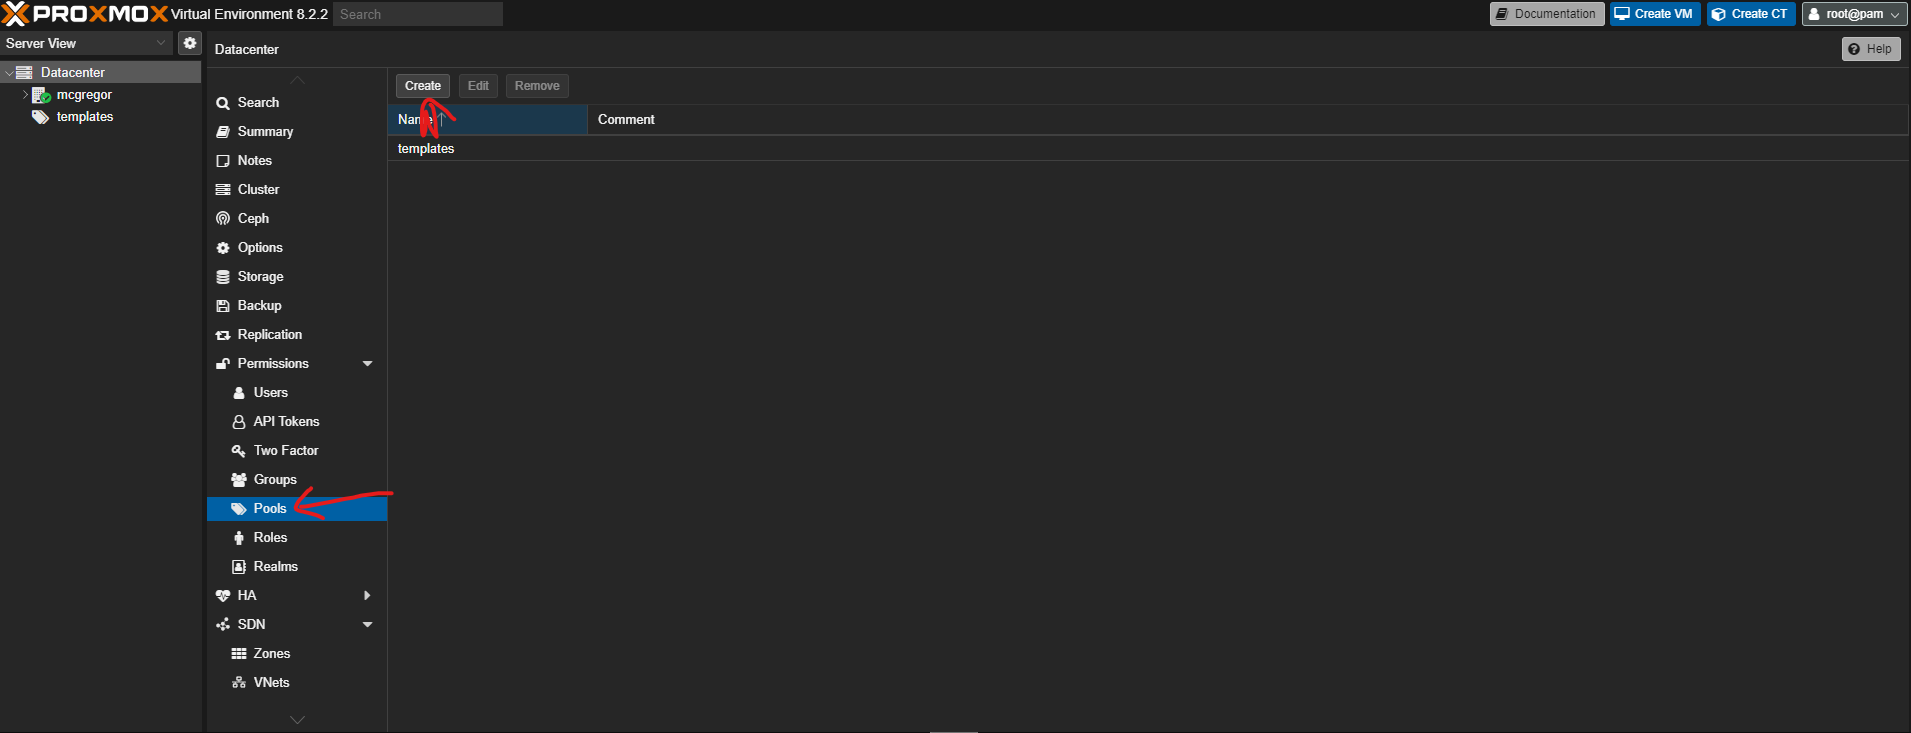
1. Create the resource pool to ease usage and billing data
Select "datacenter" from the left menu, then in the centre menu select pools and then click create
You will see my resource pool called templates
2. Create the VM itself
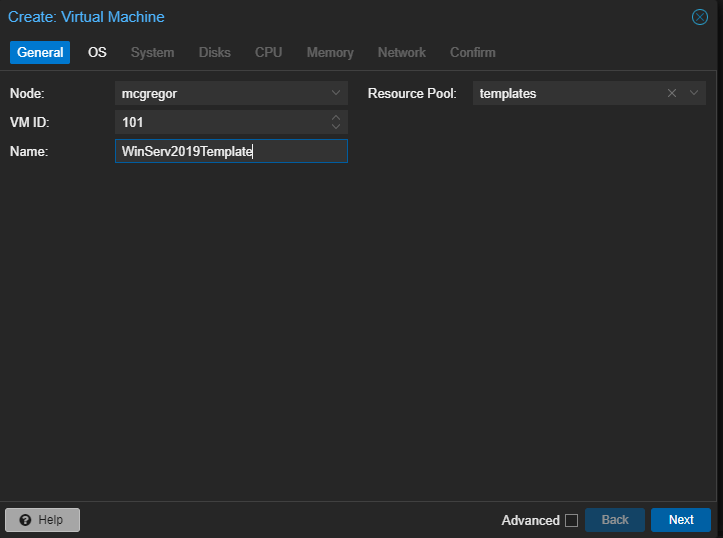
Select create VM in the top right, then the general screen will display.
Node: The host the vm will be created on
VMID: This is the unique ID of vm on this host. By default they are 3 digit numbers. I like to seperate resource pools with different numbers for example all templates are in the 100 range and all lab servers are in the 200 range etc
Name: the name of the vm
Resource Pool: This is where we hit the dropdown and the "templates" resource pool we created is available to select.
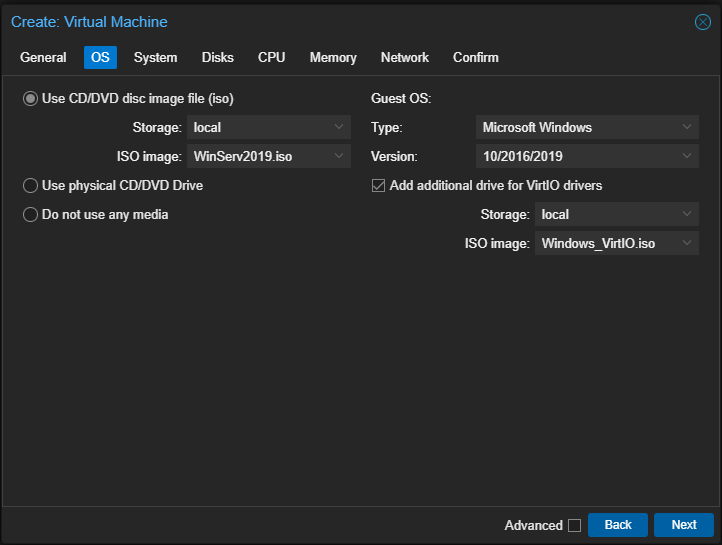
On the OS screen is where we can select one of the ISOs we have uploaded earlier. As this server is going to be Window Server 2019 I select this as the ISO image and also selected the relevant options in the Guest OS settings.
I have also selected an additional drive for the VIRTIO drivers which I beleive is similar to VMWare tools and allows for qemu agent and monitoring.
I already uploaded the Windows VirtIO ISO in my previous blog.
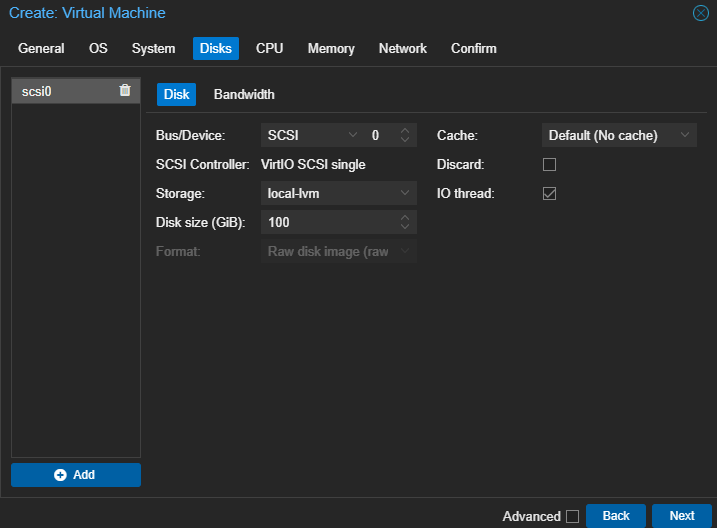
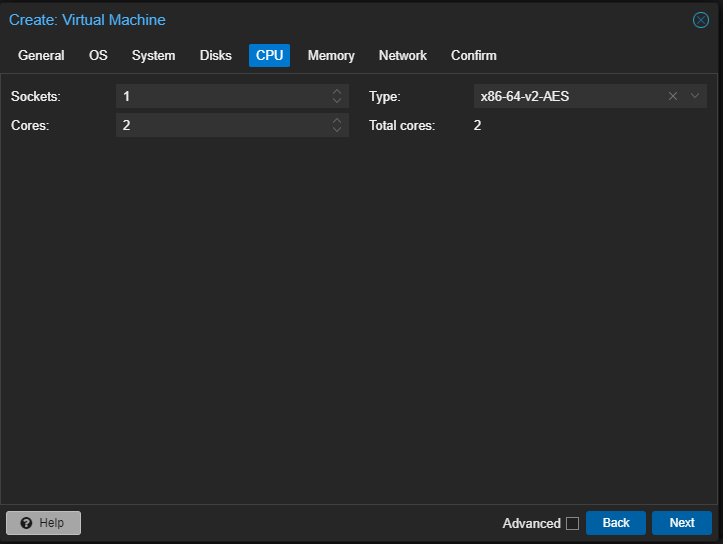
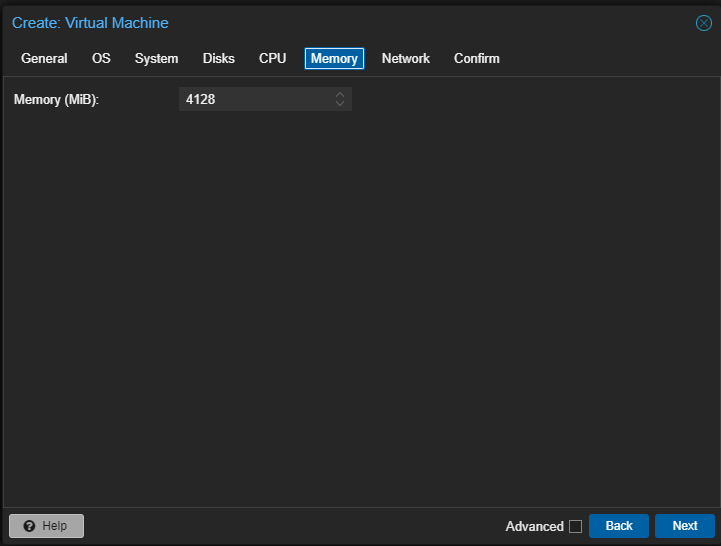
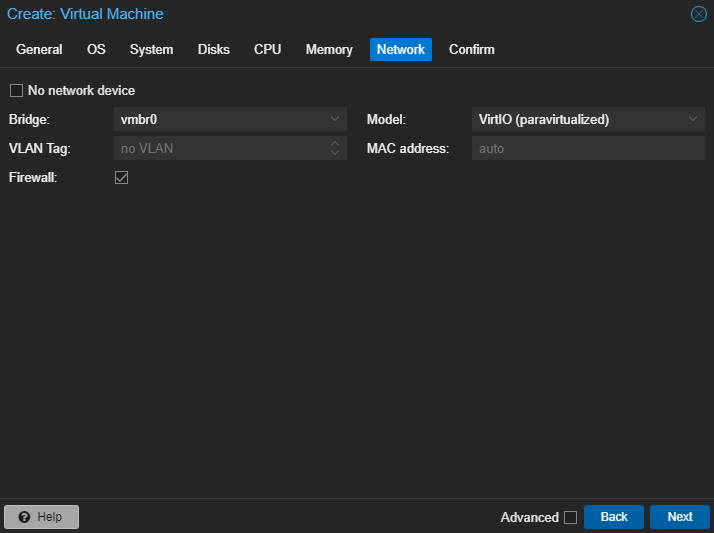
 We can now configure the rest of the vm options
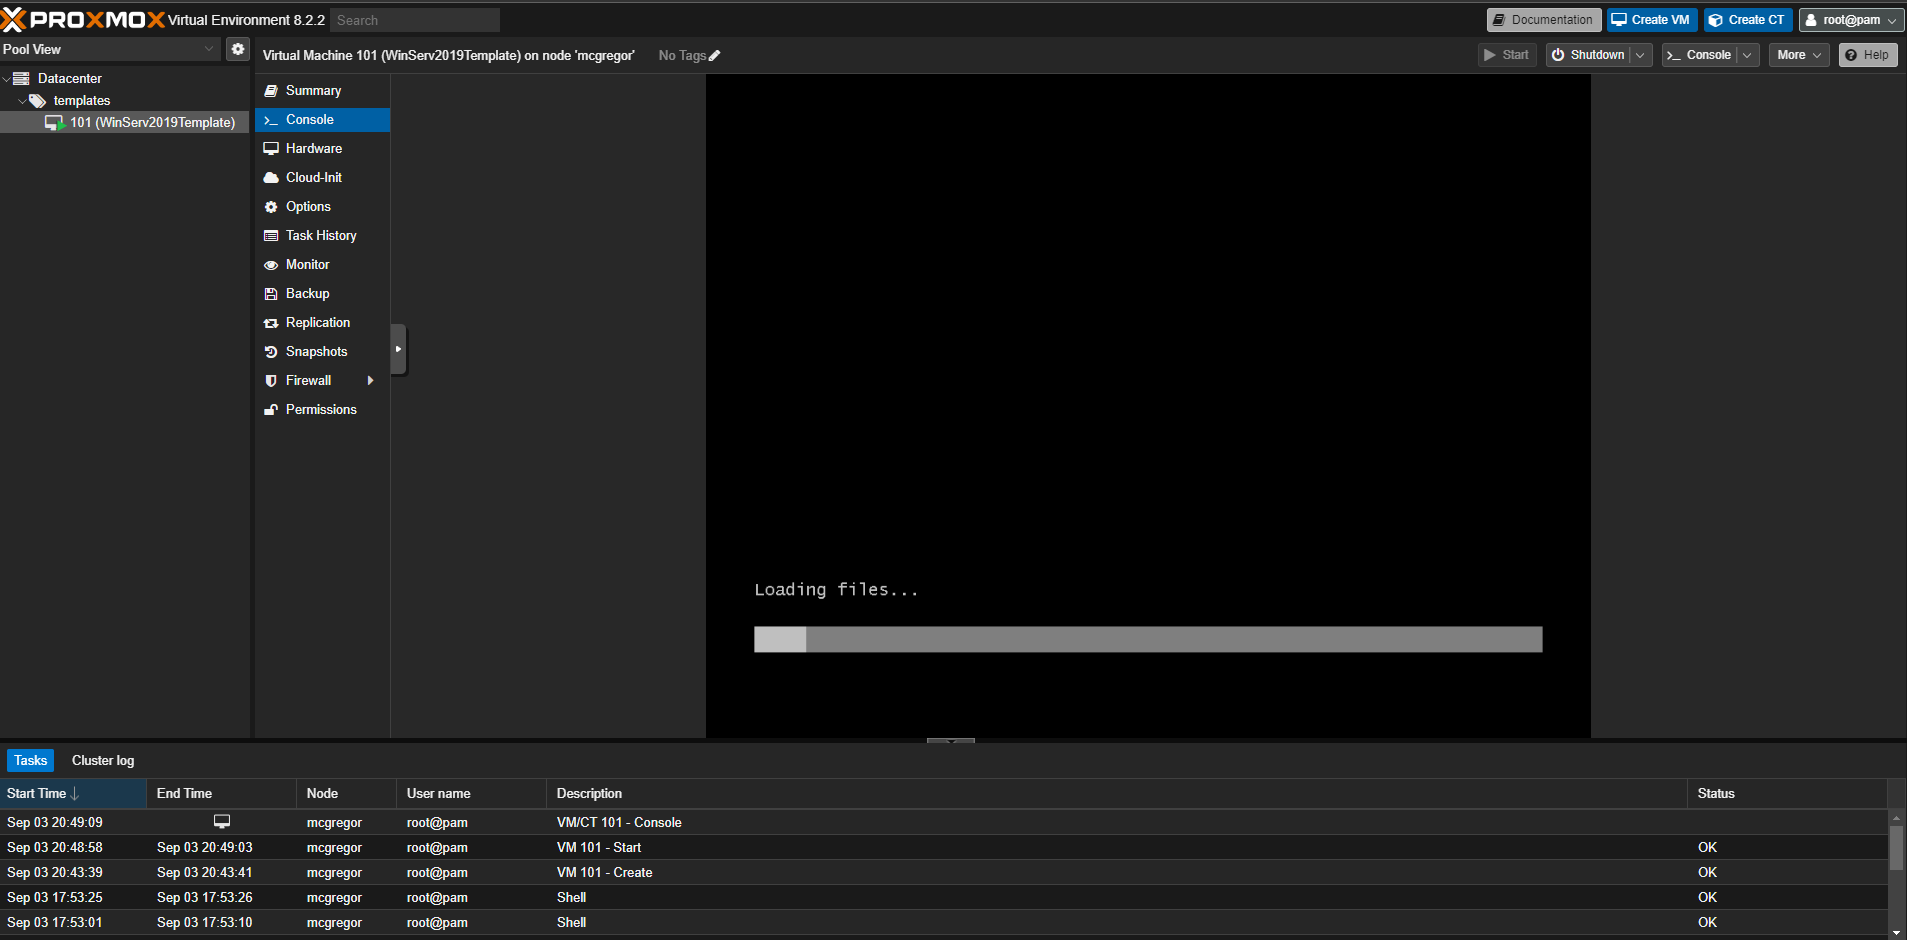
Once you confirm the settings then proxmox will create the vm. If we change the view to pool view we will be able to expand the "templates" pool and see the newly created vm in a powered off state.
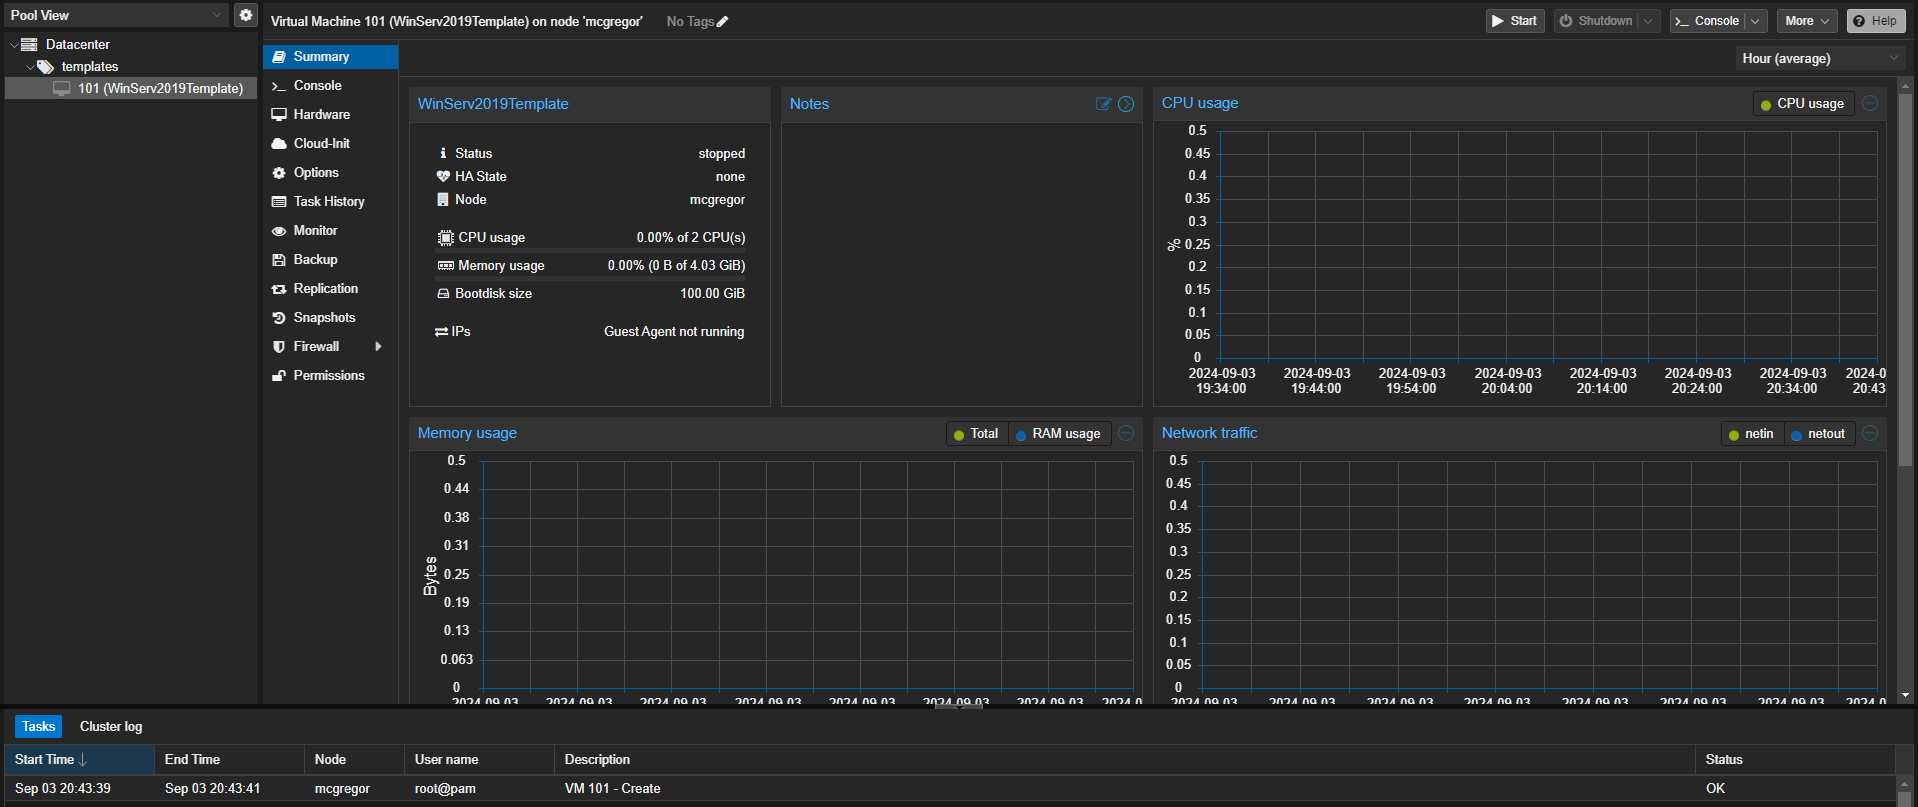
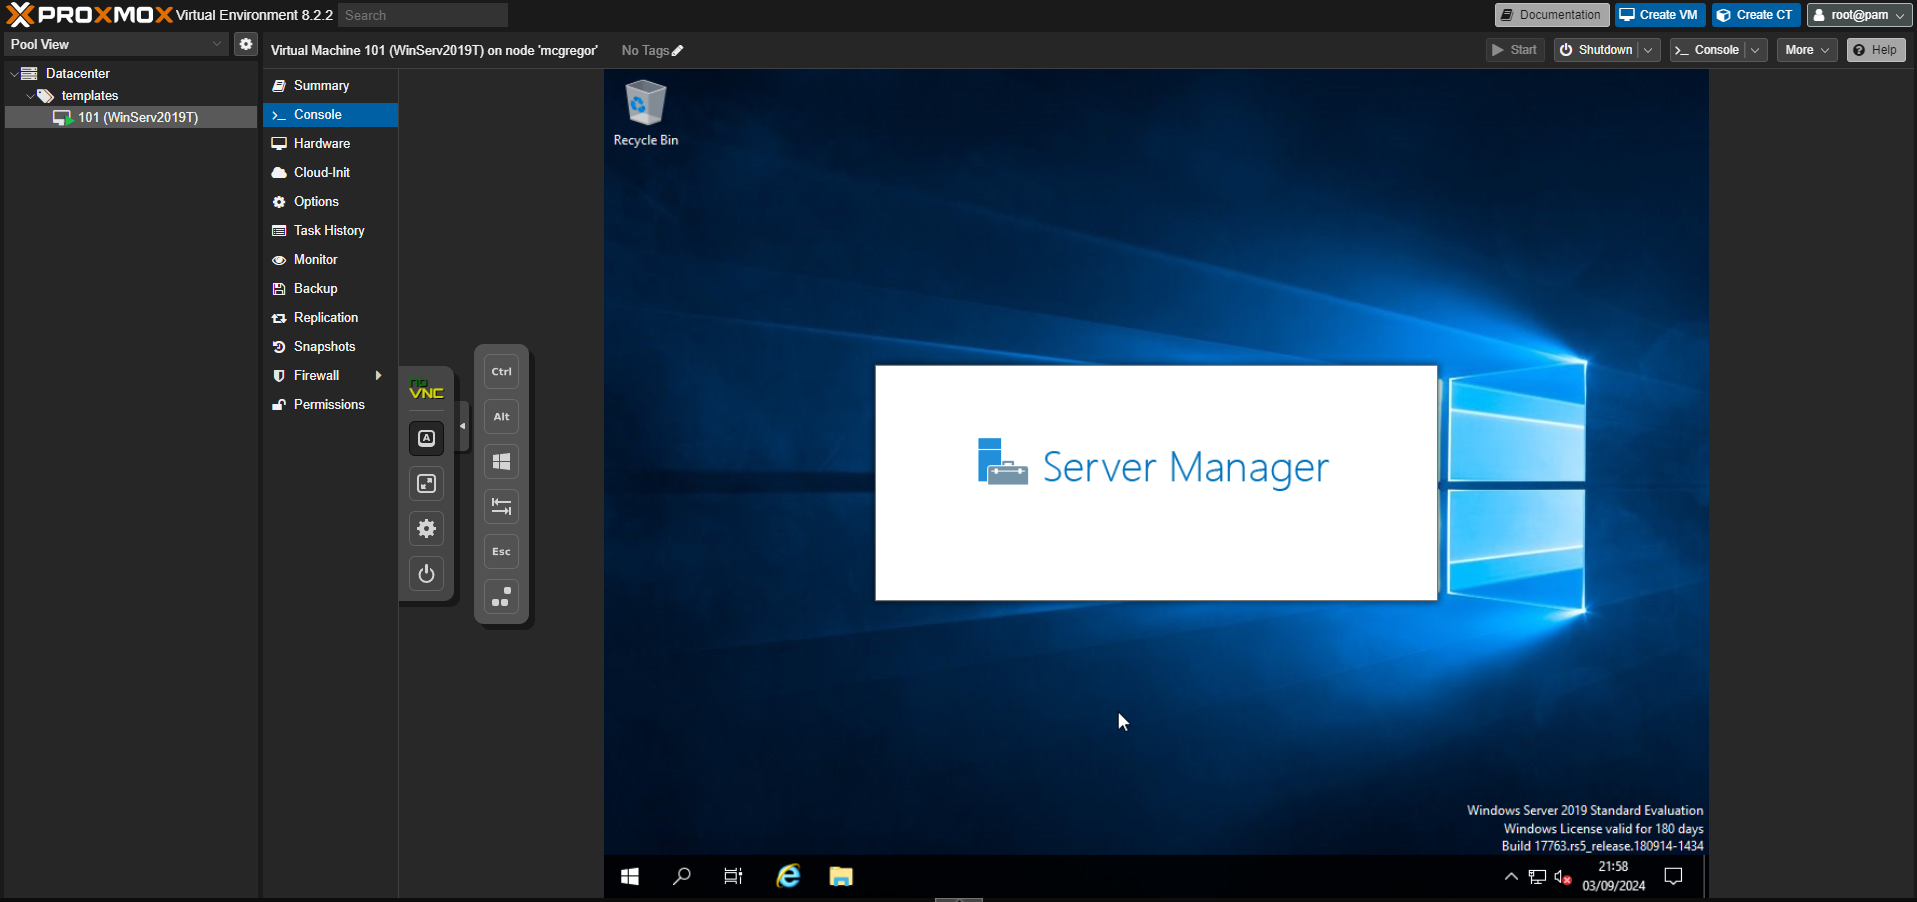
We can now power it on and apply windows updates, install virtio tools, sysprep and then shutdown. Ready for the next step of creating the template it's self. Like other platforms you get vnc to see the guest output.
1. Create the resource pool to ease usage and billing data
Select "datacenter" from the left menu, then in the centre menu select pools and then click create
You will see my resource pool called templates

2. Create the VM itself
Select create VM in the top right, then the general screen will display.
Node: The host the vm will be created on
VMID: This is the unique ID of vm on this host. By default they are 3 digit numbers. I like to seperate resource pools with different numbers for example all templates are in the 100 range and all lab servers are in the 200 range etc
Name: the name of the vm
Resource Pool: This is where we hit the dropdown and the "templates" resource pool we created is available to select.

On the OS screen is where we can select one of the ISOs we have uploaded earlier. As this server is going to be Window Server 2019 I select this as the ISO image and also selected the relevant options in the Guest OS settings.
I have also selected an additional drive for the VIRTIO drivers which I beleive is similar to VMWare tools and allows for qemu agent and monitoring.
I already uploaded the Windows VirtIO ISO in my previous blog.


Once you confirm the settings then proxmox will create the vm. If we change the view to pool view we will be able to expand the "templates" pool and see the newly created vm in a powered off state.

We can now power it on and apply windows updates, install virtio tools, sysprep and then shutdown. Ready for the next step of creating the template it's self. Like other platforms you get vnc to see the guest output.

